
- Skip to primary navigation
- Skip to secondary navigation
- Skip to main content
- Skip to primary sidebar
- Skip to footer

Featured Products
-

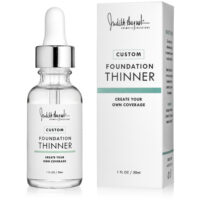
Custom Foundation Thinner
$18.00 Add to cart -

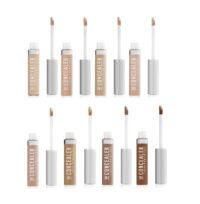
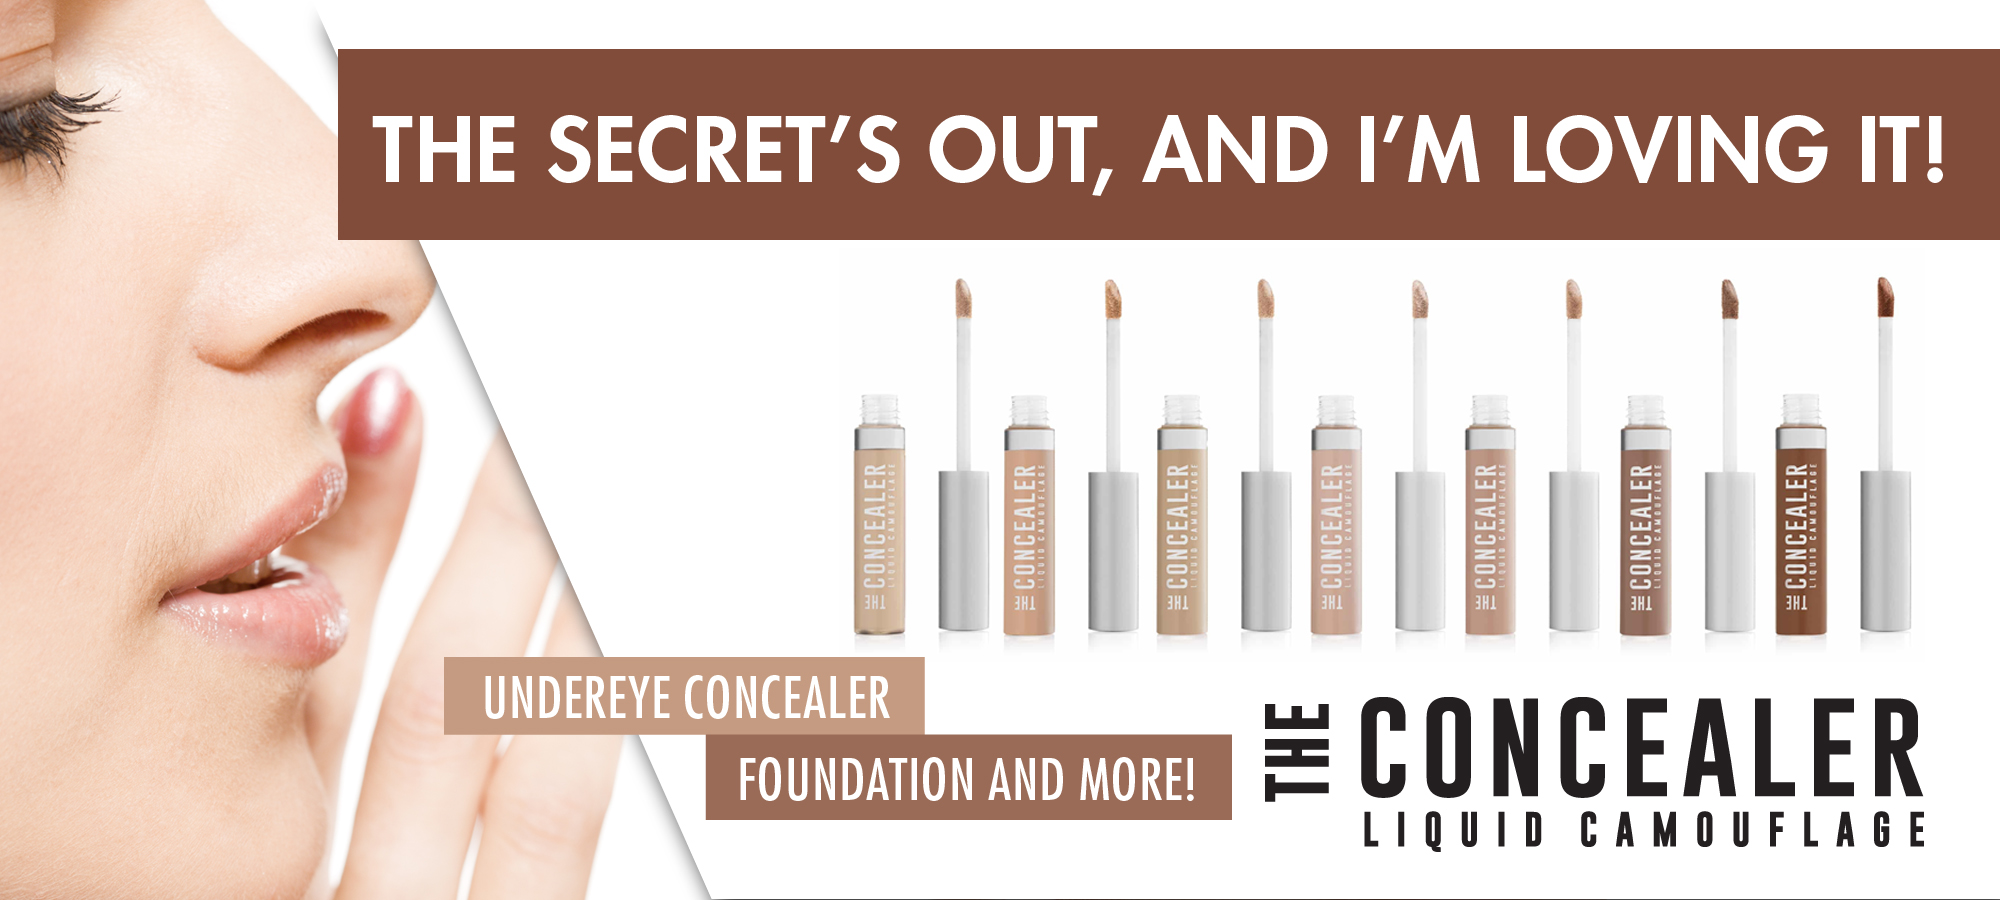
The Concealer™
Liquid Camoflauge$19.00 Select options This product has multiple variants. The options may be chosen on the product page -
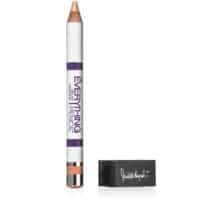
The Everything Pencil™ – Face & Body Concealer
-Best Pencil Concealer$17.00 Select options This product has multiple variants. The options may be chosen on the product page -
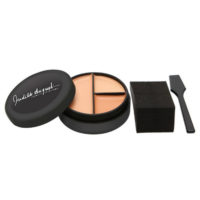
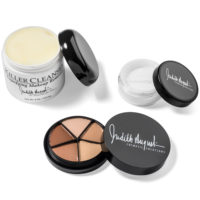
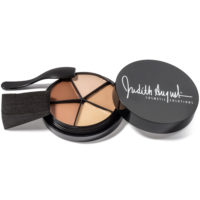
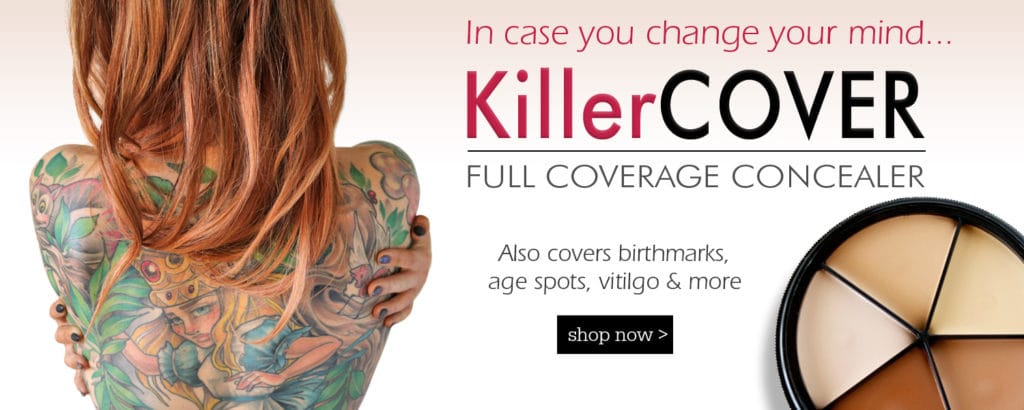
Killer Cover – Best Full Coverage Concealer
$36.00 Select options This product has multiple variants. The options may be chosen on the product page


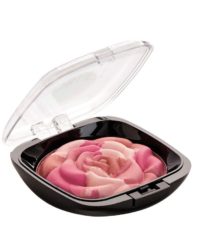
ColorLift Beauty Blush
-
Makeup Setting Powder
-
Concealers & Foundation (18)
-
Special Coverage Kits (3)